How to Write Right to Left in Your Note Taking App
By Baseline Paper · · 3 min read
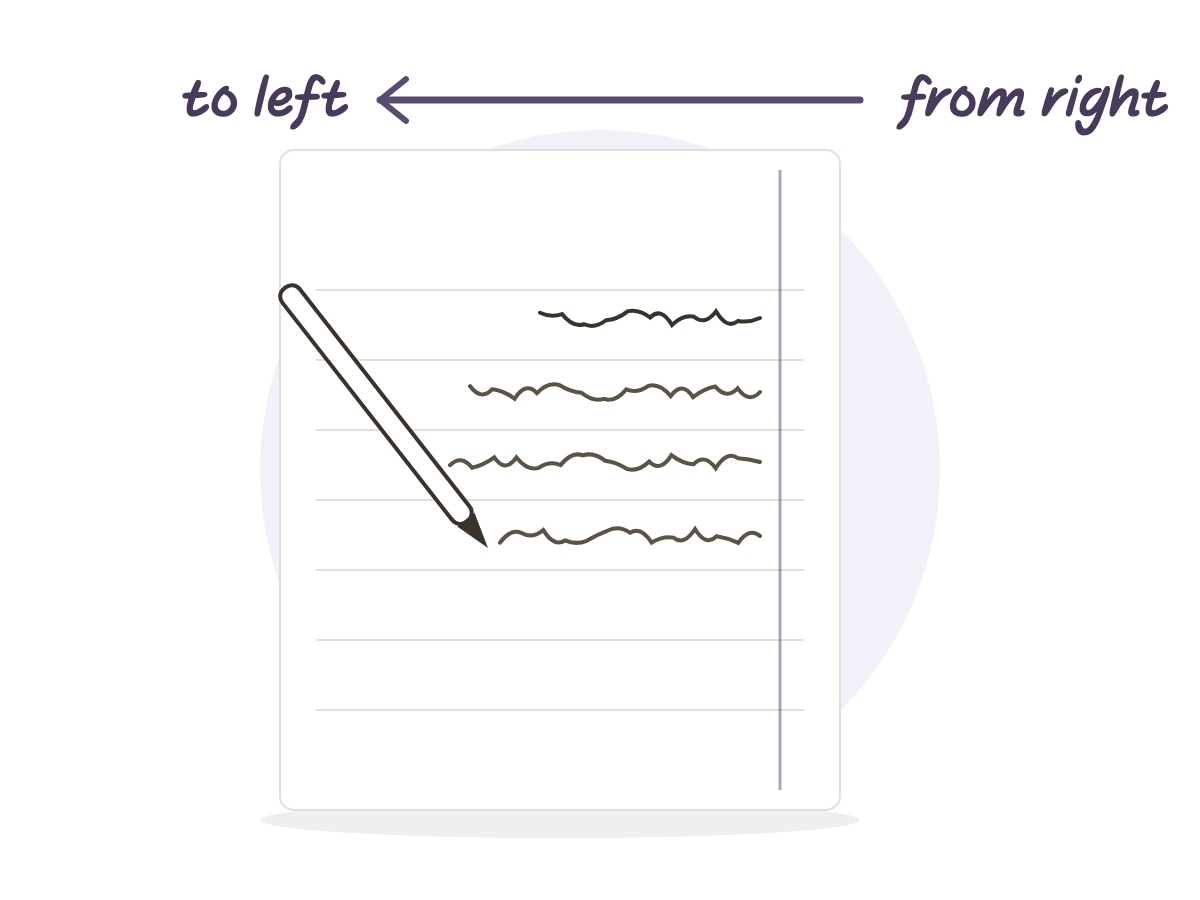
People search for Hebrew support in Notability because of one simple worry: does the app actually know how to handle right to left writing, or is this going to be a fight against software built for English all semester.
Short answer: yes, you can write Hebrew right to left in it, and it works better than most people expect. But there are a few specific places where the app really does feel like it wasn’t built with Hebrew in mind, and it’s worth knowing them before you fill up a whole notebook.
Let’s separate what already works from what actually needs attention.
What Works From Day One
When you write by hand with a stylus or your finger, the writing is really just drawing. The app doesn’t read what you write as words, it only stores lines on the page exactly where the pen moved. That means you can write right to left exactly like on paper, with no special setting anywhere. A Hebrew line, last word on the left, stays exactly where you put it. At the freehand layer, the whole question of how to write right to left barely applies, because the app never dictates direction in the first place.
Where the Direction Actually Shows Up
The friction starts with typed text boxes. A text box opens left aligned by default, like any software built for English first. Switch to a Hebrew keyboard and the line usually right aligns on its own, but mix in a number, an English word, or a punctuation mark, and you can watch them jump to an unexpected spot inside the line. The simplest fix: use typed text only for short headers, and leave most of the writing to the pen. That sidesteps the problem entirely.
Why Flipping Through a Notebook Can Feel Backward
Even when the writing itself is fine, there’s another spot where something can feel off: paging through the file. If the template you imported was built for English from the start, the navigation buttons, the index, and even the page order follow a left to right layout. You write perfectly good Hebrew on every page, but the moment you try to jump to a topic, the “next” arrow takes you the opposite direction from what a Hebrew book trains you to expect. That’s not a flaw in the app. It’s a flaw in the file you imported into it.
How to Import a Template Built for Hebrew
When you import a PDF, it opens as regular pages you can write on, and any internal links inside the file keep working there too, the same as in any app that reads PDFs. So if the template itself was built correctly, everything tied to navigation, from the index to the arrows on every page, already runs in the right direction before you write a single word. The real question isn’t whether the app supports Hebrew. It’s whether the file you’re importing was built in Hebrew from the ground up.
What to Check Before You Fill a Whole Notebook
Before committing a full semester to one file, it’s worth a two minute test. Write a line or two on the first page and check that it stays exactly where you meant it to. Tap a link in the index and confirm it lands on the right page. Flip forward and back once and see whether the direction feels natural, not backward. Three quick checks that save you a frustrating discovery in the middle of a lecture.
A Notebook Built Right to Left From the Start
Baseline Paper’s Hebrew Cornell notebook was built exactly for this. The cue column sits on the right, exactly where a Hebrew reader’s eye starts, and the hyperlinked index and the page navigation on every page run in Hebrew book direction, not as a fix applied afterward. It opens as a regular PDF file, and you write on it by hand exactly like any other page, in Goodnotes, Notability, or any app that opens a PDF.